Monday, July 14, 2014

Easy Peyote Beaded Bead Tutorial

I guess you can call this a tutorial. I have been making different kinds of beaded beads and this is one using peyote stitch. It is nothing difficult really. It is just regular flat peyote stitch using different sized beads. Each is a little less than an inch long. About 25 mm.

Two Finished Beads

The Start
The bead order is:

2 15/0s 
2 11/0s
2  8/0s
2  6/0s
2  8/0s
2 11/0s
2 15/0s

The start doing regular flat peyote stitch.

Keep adding beads till you have 6 beads in each row and then zip it up to make a round bead.

I went through the beads many, many times to add strength to the bead.


Sunday, July 13, 2014

Another Beaded Bead

I decided to challenge myself and I picked an oval or egg shaped wooden bead to cover. Boy, it turned out nice.

Here are my supplies. I had planned to use 15/0s but somehow I got side tracked and ended up using 11/0s. I decided to use just the darker blue beads and then I added another color! The initial strip was done in peyote stitch.
Supplies
 I painted the wooded bead a metallic patina color. I made the initial strip long enough to go around the bead and from then on, I used brick stitch.


I add bright orange/copper beads at the top. And 4 8/0s in an even brighter orange/silver/copper copper to finish one side.

Now I have to do the bottom half. This time, I wanted to add even more of the orange/copper colored beads in an uneven pattern..

All Done


And here is the finished bead. I love the effect of the two colors.
The Finished Bead
 This is the other side.
What kind of bird laid this crazy EGG!

 The other bottom side.


You can see all the sides below.

See how I mixed in a couple of the blue beads in with the orange!!


I am really happy with this bead!

Sunday, July 6, 2014

Binary Stars - Coral Beaded Beads

This is some work I did quite a while ago. I have more beads, but no photos of them. Anyway, here is what I have so far.

This is a bead soup that compliments these small red coral beads very well. I have made 6 of these pairs so far, but I do not have photos of all of them. And they are put away while we remodel our house. You can see that I used different sized beads in the middle part, some large, some smaller. Basically, I used 8/0s, 11/0s and 15/0s. One of the beads has the 8/0s in the center, but I like the other one with 11/0s in the center.

They look much larger in photos than they are. I think they are about 1 inch or 30 mm long!


I will update this project when I have more to show!!

Thursday, July 3, 2014

The Making of the Green Meadow Necklace

I took some photos while making this necklace because I wanted to remember what the process was like, so that I could look back at it and get some insights. I hope you can get something out of it too.

Finished Green Meadow Necklace


Free Form Beading

First step, start the free form beading process. Free form beading is done mainly thought inspiration, weaving or sewing beads freely here and there. The part at the back has been sewn tightly to help with support. The part at the front is left loose to make places to add my gems and coral.


loose areas for adding gem stones


tightly sewn areas at the back for support

Auditioning the Gem Stones

Here I am "auditioning" some the gem stones and coral pieces to decide where they should go. This is really a fun part of the process. I could try out all different kinds of arrangements before committing to any one set or style.

some gem stones added to the looser areas
some more gem stones added all over
A different arrangement of gem stones

Close-up detail showing the front part of the necklace

Again, a different arrangement
Another arrangement of gem stones

Close-up

 The Finished Piece

The finished piece, showing how the work progresses and changes while working on it.
Very FREE FORM!
The finished piece. 

Wednesday, July 2, 2014

The Green Monster Tamed

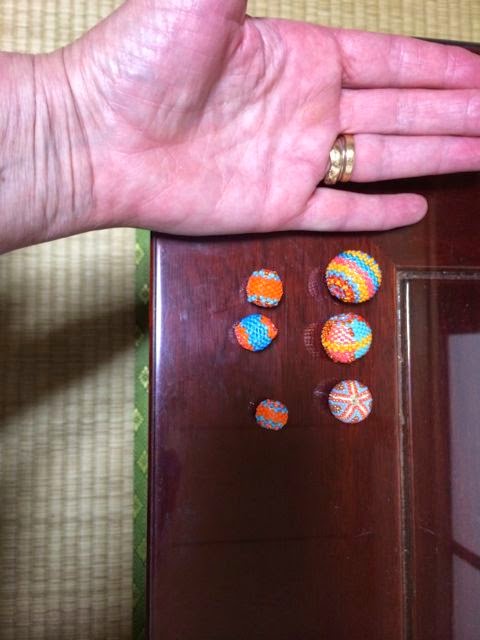
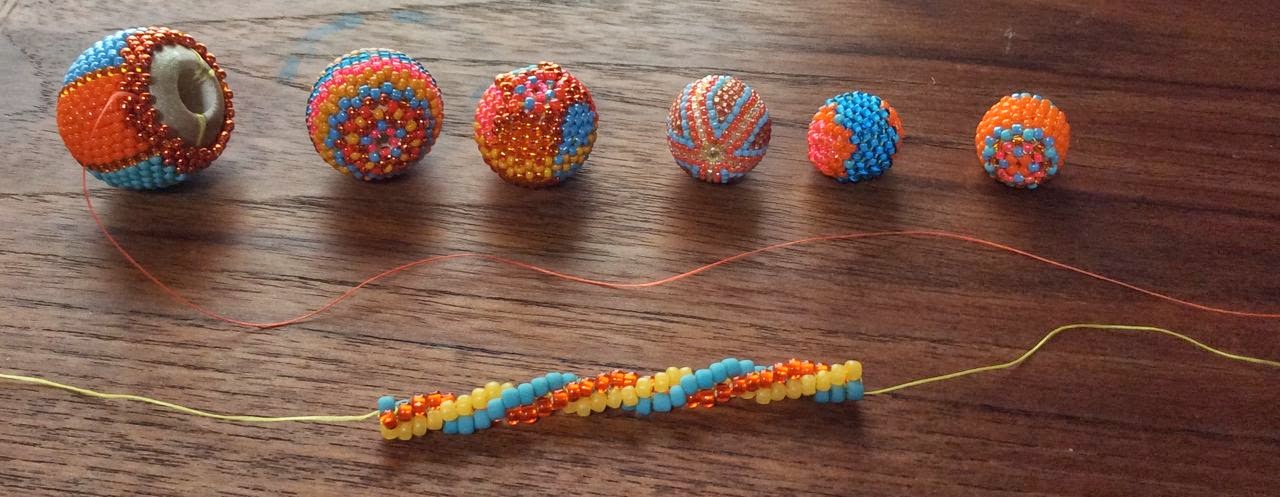
I started studying color and bead soups in 2011. I want to make more dramatic jewelry. I am sure that color is one of the most important aspects of making a dramatic piece. And I wanted to do more with all the beads I see every day. I really like the idea of bead soups, a mixture of many small beads to create your "own" color or tone. I even tried to make my own bead soup. Boy, is that hard. My two bead soups, a brownish-reddish tone and a greenish tone were not great, if you ask me. And the cost is, well, don't ask me about it!

Here is a link to the bracelet made with the brownish-reddish toned bead soup in 2011.

My Great Failure - My First Try

I used the GREEN BEAD SOUP to make a necklace. If you just look at it in parts, it looks okay, maybe even kind of nice, but if you look at the almost finished piece you will understand why I ripped it apart and started over. But, first, here it is, the GREEN MONSTER!

I think this green bead soup works better than my brown toned one. I was aiming at concepts like NATURE, FORESTS, SUMMER, LIGHTNESS.

If you just look at it in parts, it is not so bad. I started work on this in 2011 and early 2012.


But just take a look and this Monster in the making....

But why,  oh why did I make it in this horrible shape?? And why, oh why, did I add all these clunky stones?? And why, oh why did I make this heavy looking, drab,.... thing?  Well, to be fair to me, it was my first attempt at a large piece using this FREE FORM METHOD of beading. I was having fun picking up all the different types of beads and sewing them in.

There are layers and layers of beads on top of each other. Goodness, what was I thinking?


 That is when I tore it apart and started over. I was not going to let this get me down!

The Much Prettier Green Bead Soup Necklace


I started work on this in August and September 2012 and finished about December 2012. I am much happier with this. I would even wear it, whereas the first one, I would not be seen dead in it! This re-worked piece reminds me of a meadow in summer with lots of flowers blooming. There is coral and semi precious stones mixed in with all the different seed beads and Indian glass beads. I guess all the practise that I had with the first, monster piece, made it much easier for me to head in the right direction.

Check out the next post where I will show photos of the Making of this Green Meadow Necklace from start to finish!


Tuesday, July 1, 2014

Large Bead Slowly Finished

I have been beading and making things. But for some reason, I was not putting them up on the blog. Now, most of them are out away in boxes while we live in this rental house, so I don't think I can show you anything for a while.

Here is the large bead as we last saw it.


And better photos of the other, smaller beads.


Now for the very large bead

I have added some pico beads and I am thinking of adding some fringe too.


I am thinking it would look very nice as a pendant with lots and lots of fringe. Haven't added the fringe yet.......
That will be in the next update.

Monday, June 30, 2014

Some Unfishished Work

I'm back after a long silence! In the meantime, we have been remodling our house. It is not finished yet. It is something that weighs be down.
.....

I am trying to learn how to make beaded beads. And, boy, it is hard. Here is some unfinished work.


A very large, almost 30 mm bead. Unfinished.


You can see the thread that I have used to hold the smaller bead cap on to the larger bead. It really helps.


This is a very special brick stitch rope. The original idea and tutorial came from Carol Passaro on YouTube!! It makes a really nice firm strand that would hold up to all those beaded beads!!
This is a 3 bead Brick Stitch Rope in the making!


Related Posts Plugin for WordPress, Blogger...